Guide
Setting up your chatbot
Setting up your chatbot is easy; follow along with the video below where we set up an NPM chatbot, and you'll be done in no time!
Below, we will go more in-depth regarding the different pages of the dashboard.
Sources
The sources section is where you define how and where your chatbot acquires its knowledge. Currently, there are two types of sources available:
- Website
- Text
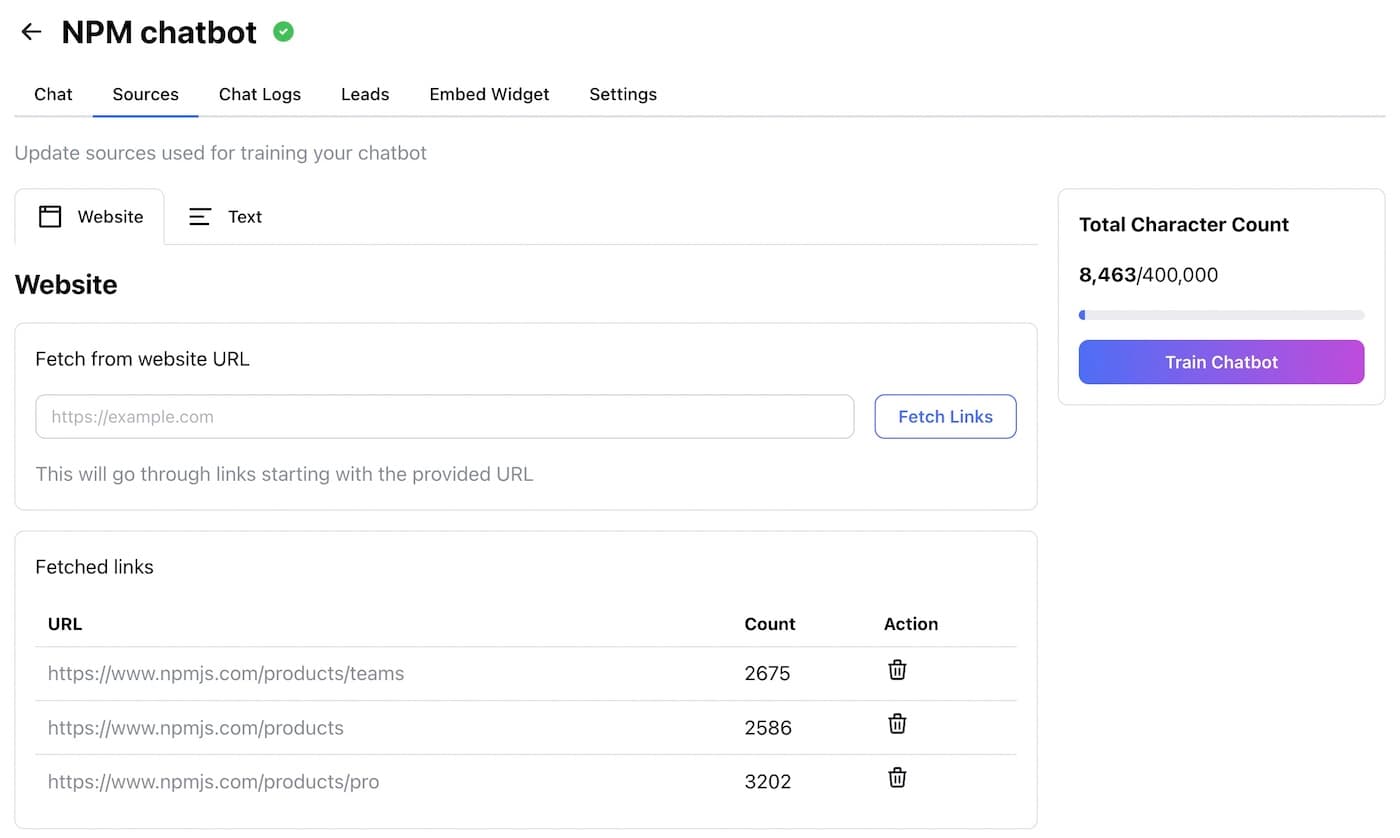
Website
To utilize this source type, input a website address (URL). Your chatbot will then visit the specified website to gather new information.
It will also follow links on the website to explore additional pages and expand its knowledge.
Note: when accessing links, it will only crawl to children paths e.g. when given the link is https://example.com/about
Will crawl paths:
- /about/child-path
- /about/org
- /about/people
Will NOT crawl:
- /another-page
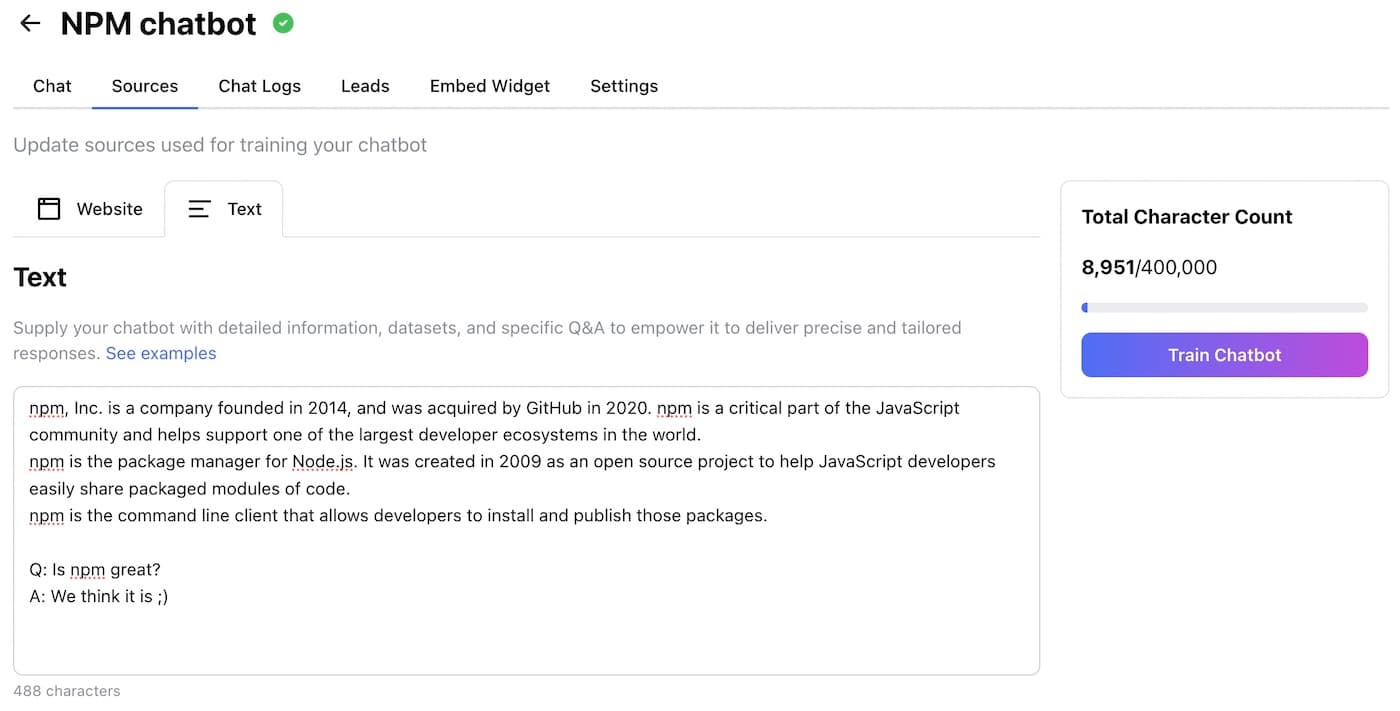
Text
In this source type, you can provide any information you want your chatbot to learn.
This information can take the form of long-form text or Q&A-style content.
Settings
In the settings section, you have the opportunity to customize various aspects of your chatbot's functionality and appearance:
General
You can change your chatbot's name to suit your preferences or branding.
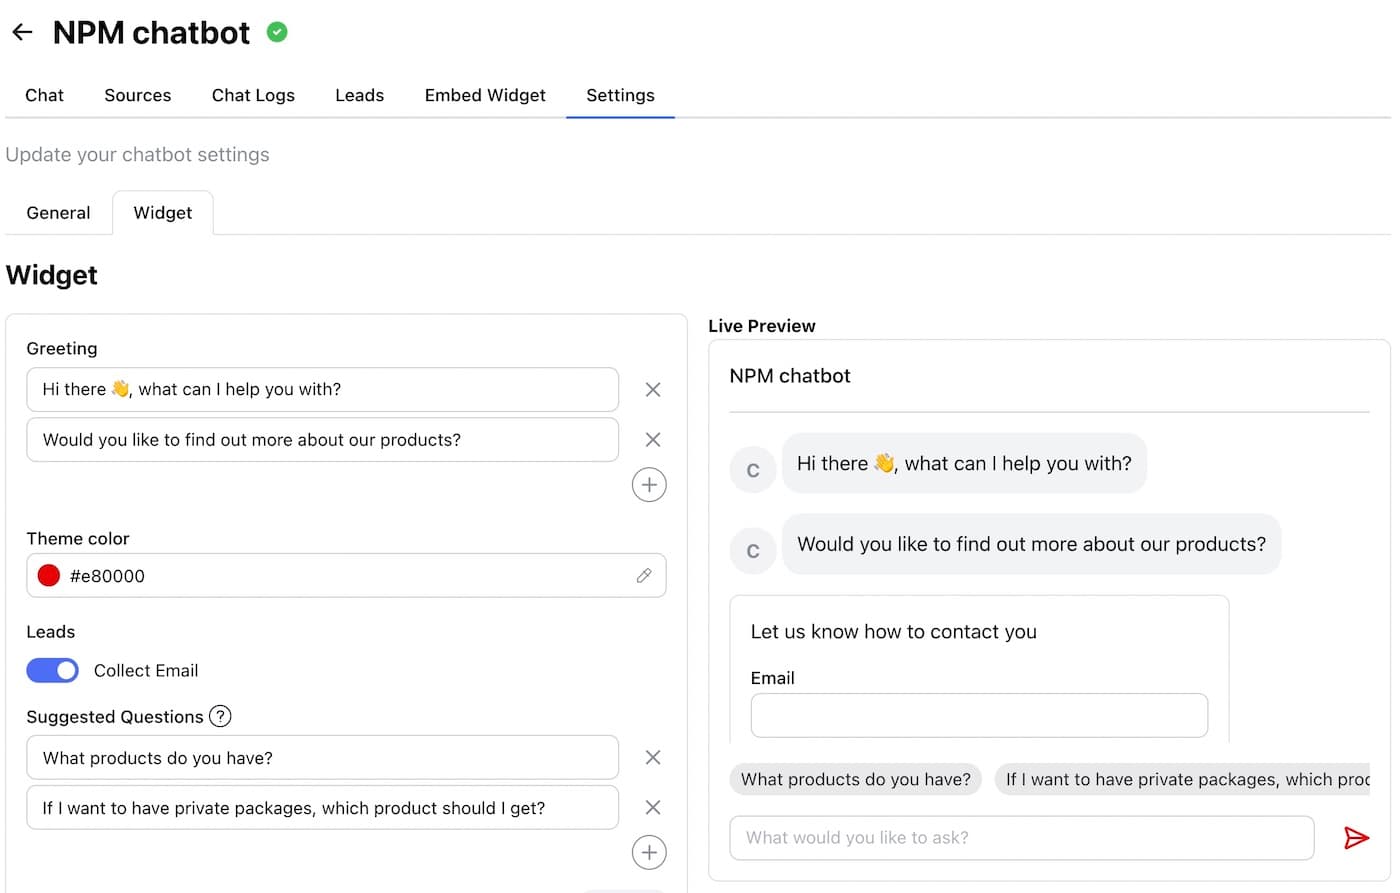
Widget Customization
- Add Greetings: Personalize the chatbot's initial greetings to engage users effectively.
- Change Theme Color: Customize the widget's color scheme to match your brand or website design.
- Collect Email Leads: If desired, enable the collection of email leads for future communication.
- Supply Suggested Questions: Provide a list of suggested questions to guide user interactions with the chatbot.
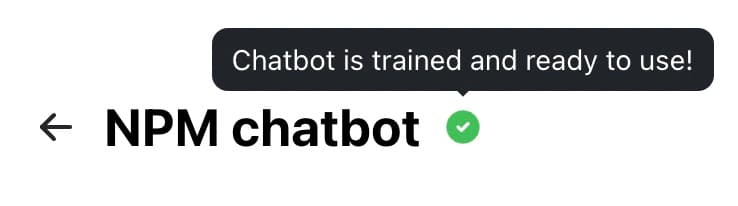
Chatbot Status Indicator
The status indicator tells you if your chatbot is trained and ready to start chatting with your visitors.